Thursday, 3 December 2015

Marie Antionette Inspiration.

https://s-media-cache-ak0.pinimg.com/236x/e6/6e/85/e66e85232df4f6e30fbf6d3b103f7406.jpg
I was really inspired by Marie Antoinette's story. She was a teenager when she became the queen of France. She was known for being incredibly materialistic and having very elaborate tastes. She was known for setting trends much like Queen Elizabeth. There are a lot of similarities between both Queens and you can see with Queen Marie Antoinette's Pictures how she must have been influenced by Queen Elizabeths style even though there was 150 years between them.  The high hair, fair in colour and decorated with jewels pearls and feathers. Even the makeup was very similar. Light in colour with rose cheeks and lips. 

https://upload.wikimedia.org/wikipedia/commons/5/5c/Marie_Antoinette_by_L._L._P%C3%A9rin-Salbreux.jpg

https://upload.wikimedia.org/wikipedia/commons/3/30/Marie-Antoinette,_1775_-_Mus%C3%A9e_Antoine_L%C3%A9cuyer2.jpg
 Queen Elizabeth The first. http://i.dailymail.co.uk/i/pix/2013/02/11/article-2277221-175ED117000005DC-879_306x423.jpg
 Marie Antoinette played by Kirsten Dunst in the 2006 movie with the same name. http://lovelace-media.imgix.net/uploads/840/4ba20da0-ca69-0132-9a56-0e01949ad350.jpg?w=684&h=513&fit=crop&crop=faces&auto=format&q=70

Marie Antoinette played by Kirsten Dunst in the 2006 movie with the same name.://s-media-cache-ak0.pinimg.com/736x/6c/82/85/6c8285dc38f0f4303cac771752fa63d5.jpg

Curling including spiral and lift

http://static1.squarespace.com/static/5132d80de4b03f8a261dbfe7/514f9962e4b023ca290095ef/514f998be4b04c6ad1870323/1364171147922/elizabethan+women+1.png


Today in class we learned how to curl and set the hair properly. I happened to be ill in this class, so some of the girls sent me there notes and photo's so that I could do it at home. i ended up doing it in another of Lottie's classes which was useful as I could ask Lottie for  help if needed. This process takes a lot longer than my usual way (hair straighteners) but the outcome is so much better and lasts so much longer. 

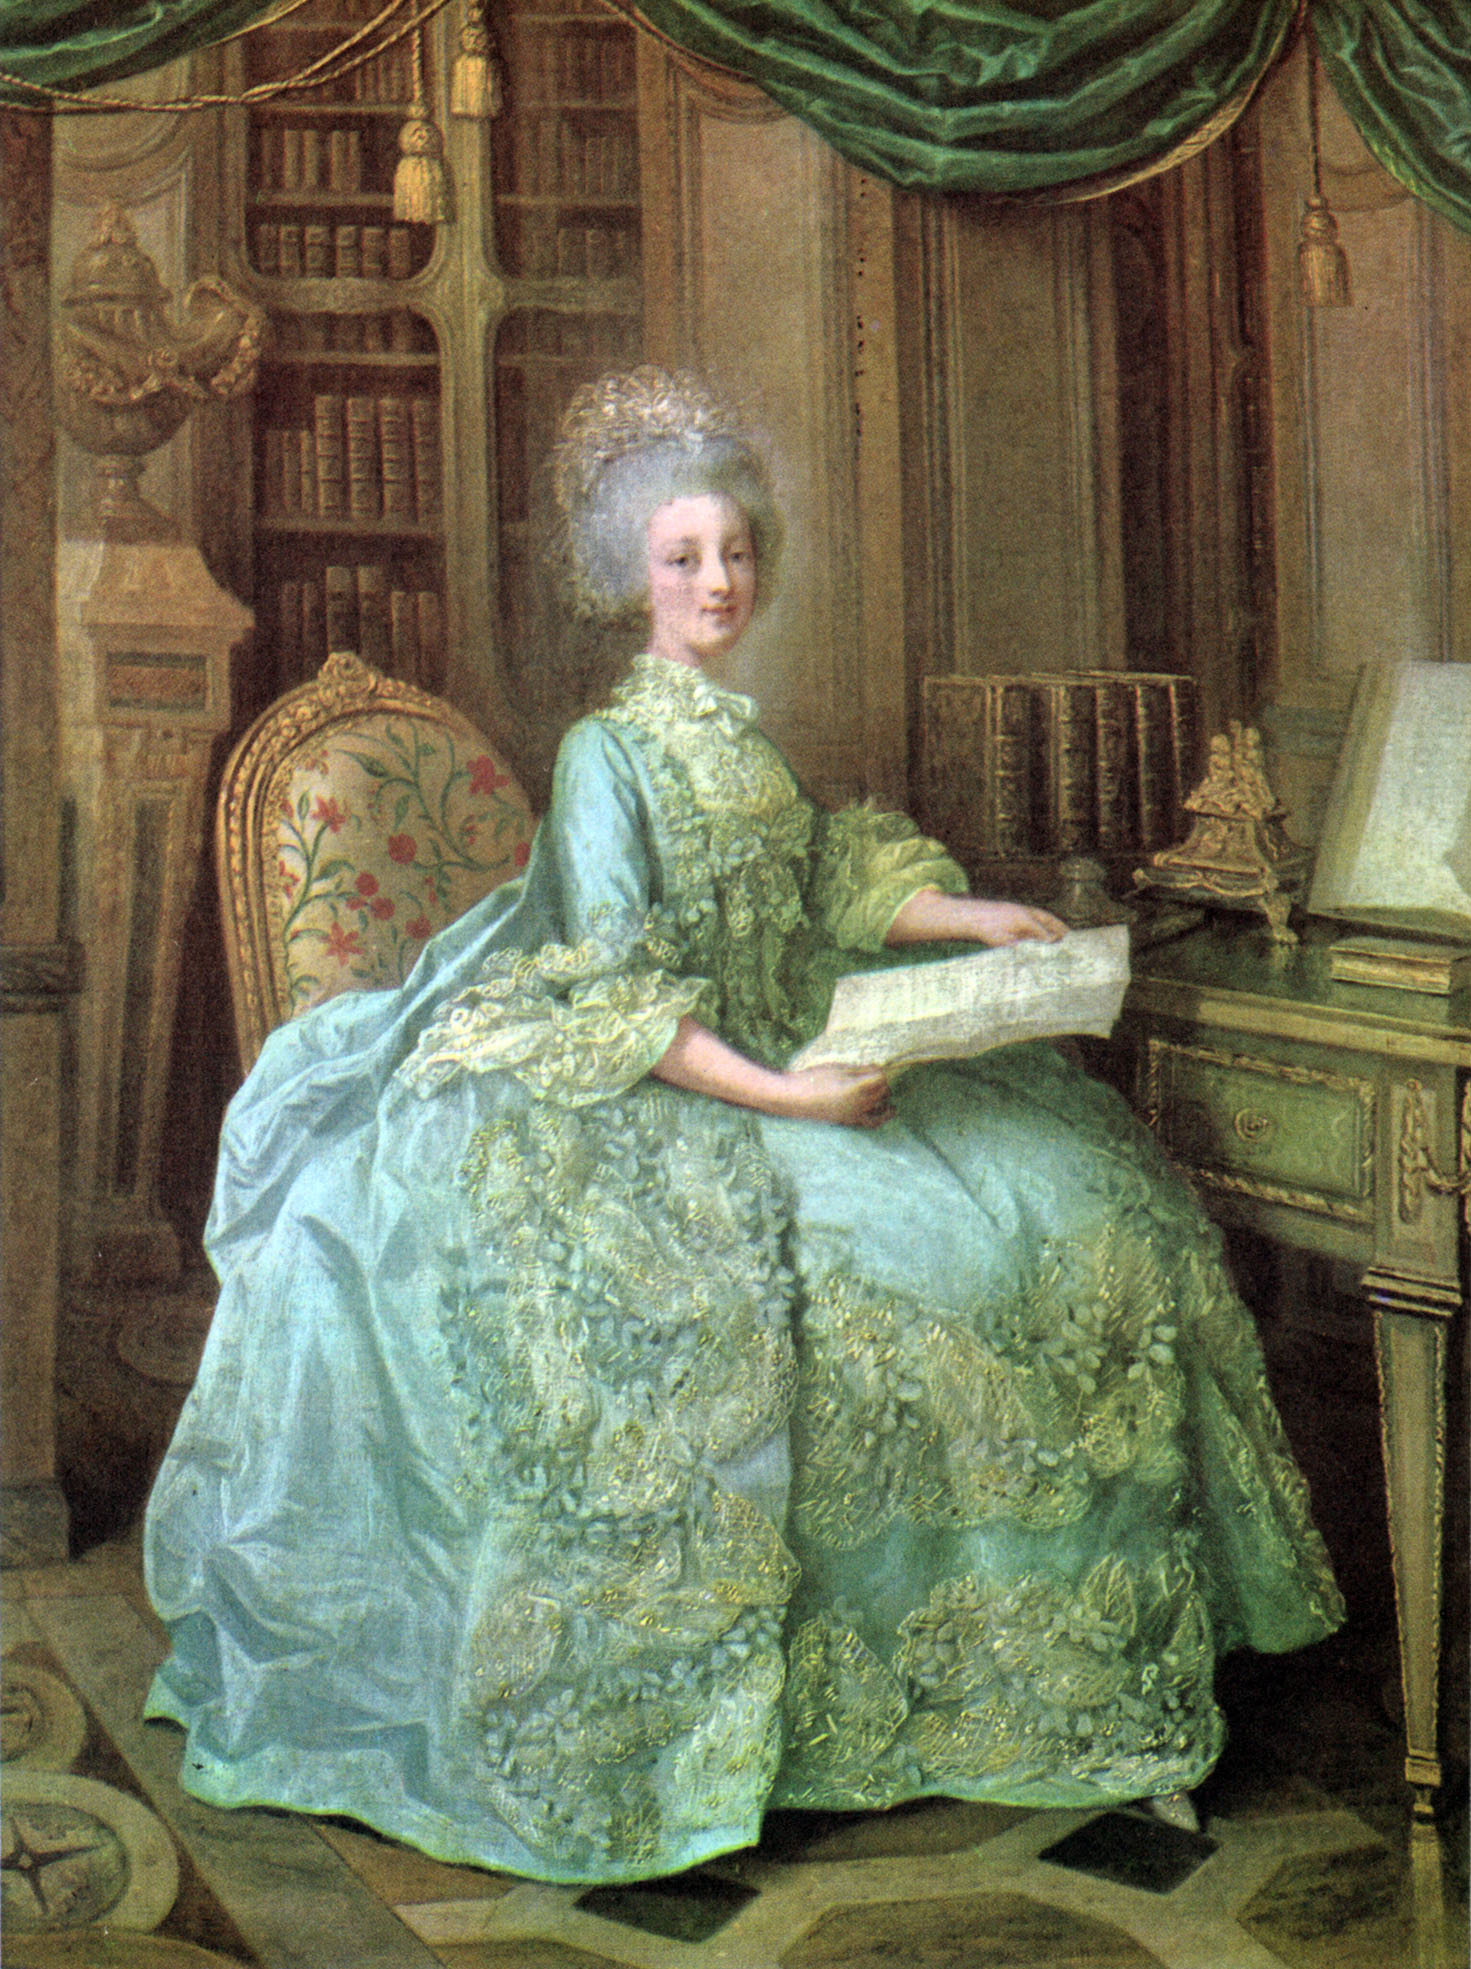
If women were wealthy in Elizabethan times most of their time in the morning was spent doing there hair and makeup to prepare for the day. Hair was a very important part of their image back then and they would spend a long time creating these very elaborate hair styles. They would crimp, plait and curl them. To curl their hair they would heat up curling irons on an open fire. Things have changed a lot since then and there are hundreds of types of curling irons, straightening irons and crimping irons and many different types of curling and styling techniques. The one today is brilliant for keeping the curls intact for a long time.

Volume curls.


What you need Tools Etc. 

1. Sectioning comb
2.paddle brush
3.Bobby pins and hair grips.
4. large metal sectioning clips
5. curling tongs.

We learned about the difference between tight curls and loose ones and how to create that difference using simple methods that don't include the use of any products. 

Step 1. Cape your model.
Step 2. Turn on your curling tongs and let them heat up while you prepare your work station.
Step 3. Prepare all of your combs, section clips and grips.
Step 4. Section off the hair on the top of the head so that you can start from the bottom. This is so the top curls can sit on the bottom curls creating a fuller head of curls.


Step 5. Once your curling tongs have heated begin by placing a small section of hair at the bottom of the hair tongs and release the holding part of the tongs. this holds the hair in place. Then roll the tongs in the direction of the scalps downwards until your about a centimetre and a half away from the scalp. Then hold for about 10 to 15 seconds depending on the thickness and condition of the hair. 
Step 6. Once the heat has gone through the whole section of hair release the catch and catch the curl before it comes undone and clip it using a sectioning clip. 
Step 7. Continue this the whole way up the head still working your way up and leave for a few minutes to allow the whole head of curls to set.


Leaving the curls to cool down sets the curl and helps it last all day. 

Step 8. Once you have set your Volume curls you can un clip them and shake the hair out.


Step 9. If you want to re-create a look from the 40's and 50's you can comb this style through and create a smoother shaped look.


Outcome: 

This look was really to create volume. This method was very popular in the 40's and 50's. You can really manipulate the curls in any way you want to create what ever look you were going for. Some women in the 40's would brush there hair out after setting it like this to create a great shape around the face. This is probably my favourite of all the hair techniques we have learned. It was great to see how all the great actresses did their hair back in the day and to see how I could recreate it. I also found that at first I struggled to get the clip in the hair to set it, but after the first 5 I got the technique down. I'm really happy with the outcome and this is something I will definitely use again.

Spiral Curls. 


What I used. 

1. Sectioning comb
2.paddle brush
3.Bobby pins and hair grips.
4. large metal sectioning clips
5. curling tongs.

For spiral curls they are big and curly and can be used for up do's and down. They bring the hair down longer than the volume curls. These look sort of 80's style.

Step1. cape your model


Step2. Start from the bottom again and section the top so that the curls on the top curls sit on the bottom curls.


Step3. Alternate directions so that the curls go in different direction. this is so that the curls don't blend in with each other.


Step4. Attach the hair in the catch with the curling tongs in an upright position. Then pull the tongs in wrapping the hair around the tongs as you go.
Step5. Wait about 10-15 seconds depending on the thickness and condition of the hair. Once the hair is heated through pull out a little releasing the catch and pin the curl.


You pin the curl in place so it can cool down in the curled position. This allows it to set and makes the curl stronger and last longer.


Step 6. Once each curl has had time to cool down unclip the head of hair and shake out. You can then create any shape you want.

Outcome and final thoughts.


I really like this way as I found that the curls definitely lasted longer and looked nicer. I do think though that this technique is something that you would use for a special occasion because of the length of time it takes to do. I struggled to not drop the curls when I clipped them straight from being on the heat of the tongs and found this very fiddly but after a while of doing it I felt that I got the technique. I did however at first direct all of the curls in the same direction and this I corrected as I got further to the top. This did show though as these curls went in the same direction. Because of this though I know not to make this mistake again. 

Monday, 30 November 2015

Working with a model for the first time....

It was my first time working with a model today and not my Katie doll. It was interesting to see the difference because they are an actual person so there's a lot more to be aware of when working with hair. You have to make sure they're covered and comfortable. You have to make sure you are more gentle with brushing and combing and you also have to be really careful with hot curling irons etc. because you don't want to burn them. This was really interesting because with the Katie head you don't have to be aware of 'her' because she's a doll. You don't have to be aware of hurting her or being too rough etc.


I did feel comfortable enough working on a real person rather than a Katie doll. I have had freelance makeup artist experience so I'm comfortable working on the general public. This really helped with this as it meant I could just get on with the task at hand. The biggest challenge with working on my partner was the hair type (This was the day we had our first Elizabethan hair attempt). My partner Tara had really soft, good condition hair so this was obviously more challenging to work with as its slippy when your trying to put it up. I had to crimp most of her hair to get more texture and then I was able back brush it to create more structure. This technique worked in the end and I was able to put Tara's hair up easily enough. I think next time I would use a strong hold hair spray to get rid of fly away hairs. This will also give the hair more texture and make it easier to work with.

Friday, 27 November 2015

Adding accessories to the hair


For today's lesson we had to add accessories to Elizabethan hair styles. In Elizabethan Times Women would have elaborate hair design but they would also decorate their hair further with jewels, ribbon, netted hair cages, pearls, hats and hair ornaments. This was to showcase their wealth and stature. these weren't available to the lower classes so it was a huge sign of your position if you could get a hold of these accessories.


I chose to work with a feather and diamond hair accessory and some ribbon I'd picked up from Fabric World in the high street.

Technique:

I began sectioning the hair into three sections. I french plaited these sections and going towards the nape of the neck. I tied the ends of the plaits with clear bands and folded them under the plait. I then used 2 bobby pin clip's and secured them in place. I then got a bobby pin and attached the ribbon to it and proceeded to thread the ribbon through each plait. Once I had finished I clipped the ends of the ribbon in place to secure them. I then took my feather and diamond hair accessory and threaded it through the bottom of the middle plait I then secured this with a bobby pin. 
Outcome and Feelings of technique:
 This was tricky. Threading the ribbon without loosening the plaits and I think it will take a bit of practice to perfect this technique. I really like the look of this. I tried to make a contemporary version of the Elizabethan style with this design. I think it came together nicely and the colour's are very autumnal. 


Assessment for final design. Me doing Erin's design.


Today I had to construct Erin's hair design. I didn't have much opportunity to practice it on Erin herself as we had conflicting schedules but managed to do a lot of practice on my Katie doll. My practice went well and I went into the timed assessment feeling confident and prepared.


Tools used:
  •  clear bands
  • hair grips
  • bobby pins
  • decorative clips
  • hair spray
  • sectioning comb
  • paddle brush
  • crimpers
  • curling wand

The design steps: 
I had to part the hair into 4 sections horizontally and tie them into bands. I then crimped the entire 3rd section and put this into a band to hold. I then French braided the second section (plaiting towards Erin's ears on both sides) after parting it slightly off center as to follow Erin's natural parting. After French braiding it I loosened the plait and pulled at it to make it wider and softer. I then tied them at the ends to secure them. I then went back to the third section and back brushed the whole lot of hair to create a large bouffant. Once it was back brushed I held it together and began to comb over the top layer to smooth it out. I then untied the fourth section and put it together with the 3rd section into a loose ponytail. I then made a little bun with this and rolled it under and clipped it in place so that it was hidden and secure. I then smoothed it all out with hairspray and pushed it up a little more to create height and clipped it in place. I then took the two plaits and placed them around the bouffant, over the ear, crossed them over each other at the back and tucked them in the bouffant and clipped them in place.   I then got the front section split it to Erin's parting and curled them loosely so to create softness around the face. I then clipped them back into the bouffant and let some bits fall to keep it loose and pretty. I then put in the decoration which I think brought it the whole design together. 


After thoughts. 

I'm really happy with the outcome. I think it worked really well and I managed to stay within the desired time frame. I think it looks really clean and neat and well constructed. I feel I was well planned and practiced and kept to Erin's design. Erin also gave me a very detailed set of steps and instructions with photographed examples that were very helpful. I found this really useful as I could practice on my own and know what I needed to do with each step. I also feel that we worked really well as a team and communicated really well with each other. I felt I understood what Erin wanted me to do with her design too. I also really like the design it worked really well with Erin's hair and looks great with Erin's skin tone and hair colour. A really great contemporary interpretation of an Elizabethan hairstyle.

Final Assessment for my design. Erin doing my design.


On Monday it was assessment day for hair. I had completed my design and Erin had to construct it. We had practiced a lot and I had prepared everything she needed  (hair brushes and sectioning combs, clear head bands, hair grips, hairspray, hair wax for the braids and accessories for the finishing touches). I also felt that Erin was really well prepared.
List of products and equipment used.

1. Pin tail comb for combing and sectioning
2.Hairbrush
3. hair crimpers.
4. hair wax
5. hairspray
6. clear bands
7. hair grips
8. sectioning clips
9. accessories for decoration. 6 diamond ended bobby pins and diamond swirs to curl into the hair.
10. hair plan.
11. hair plan step by step
12. photos of practice sessions
 
Erin completed the assessment in good time. She was really professional, fast and the finish was really clean. The placement of the accessories was accurate and I was happy with the final result. The only thing I think I would have changed was the top bun as it looked a little over to one side, it wasn't quite as symmetrical as I would have liked but Erin did notice this herself and tried fixing it in the end.
Erin also took direction really well and I felt that our communication was our strong point. Erin understood the look I was going for which really made it easy when talking through my design with her. 

I really enjoyed designing this hairstyle. I took a lot of inspiration from a lot of avant garde hair styling sites and also from a lot of the Elizabethan portraits. I feel that I really managed to combine the Elizabethan crown with the modern avant garde hair crowns I found photo's of. I enjoyed the progression of my changing ideas. Each time I practiced I would alter something or move something. This was very important as I wanted to make it easily constructed by my Partner Erin, in the time frame given to us by Lottie.  I also wanted it to be well balanced and I found that my first design didn't quite fit with my head shape and hair thickness.  I feel that my final design worked really well for my hair. I have bleached it a couple of times so the condition is quite course. I found that because of this my hair took to the different styles really well and held really well too.
I used my first makeup design idea for my hair design photo. I thought it worked well and because it was a simple makeup design it fit well in the time frame. I do think though, that it made it look a little 90's Gothic when I used the black back ground (for the photo) which I wasn't entirely keen on as this wasn't what I was going for. Next time I will choose a simpler makeup look if my hair design is elaborate Or I will use my white background photo's as this sits better and balances everything out.


Preparation for final practical assessment. Me doing Erin's design.


After receiving Erin's detailed steps and instructions with photographic examples I was able to practice at home. They were really easy to follow and it gave me a clear way of understanding exactly what Erin wanted. 

Erin's instructions:


My practise images.


Outcome of practice.

I actually found this design very straight forward to do, made easier of course with Erin's notes. The only bit I struggled with was how to make the bouffant bigger. Once I new what size Erin wanted it I practiced until I perfected it. I think I got really good height with the bouffant in my practice so this gave me confidence to re-create this on Erin in the timed assessment. I think it all came together really nicely and I'm pleased with the outcome. 
I really like this design. I love the frizzy look of the bouffant and how it's neatened up by the front. 


Photo credit: Erin Stacey.